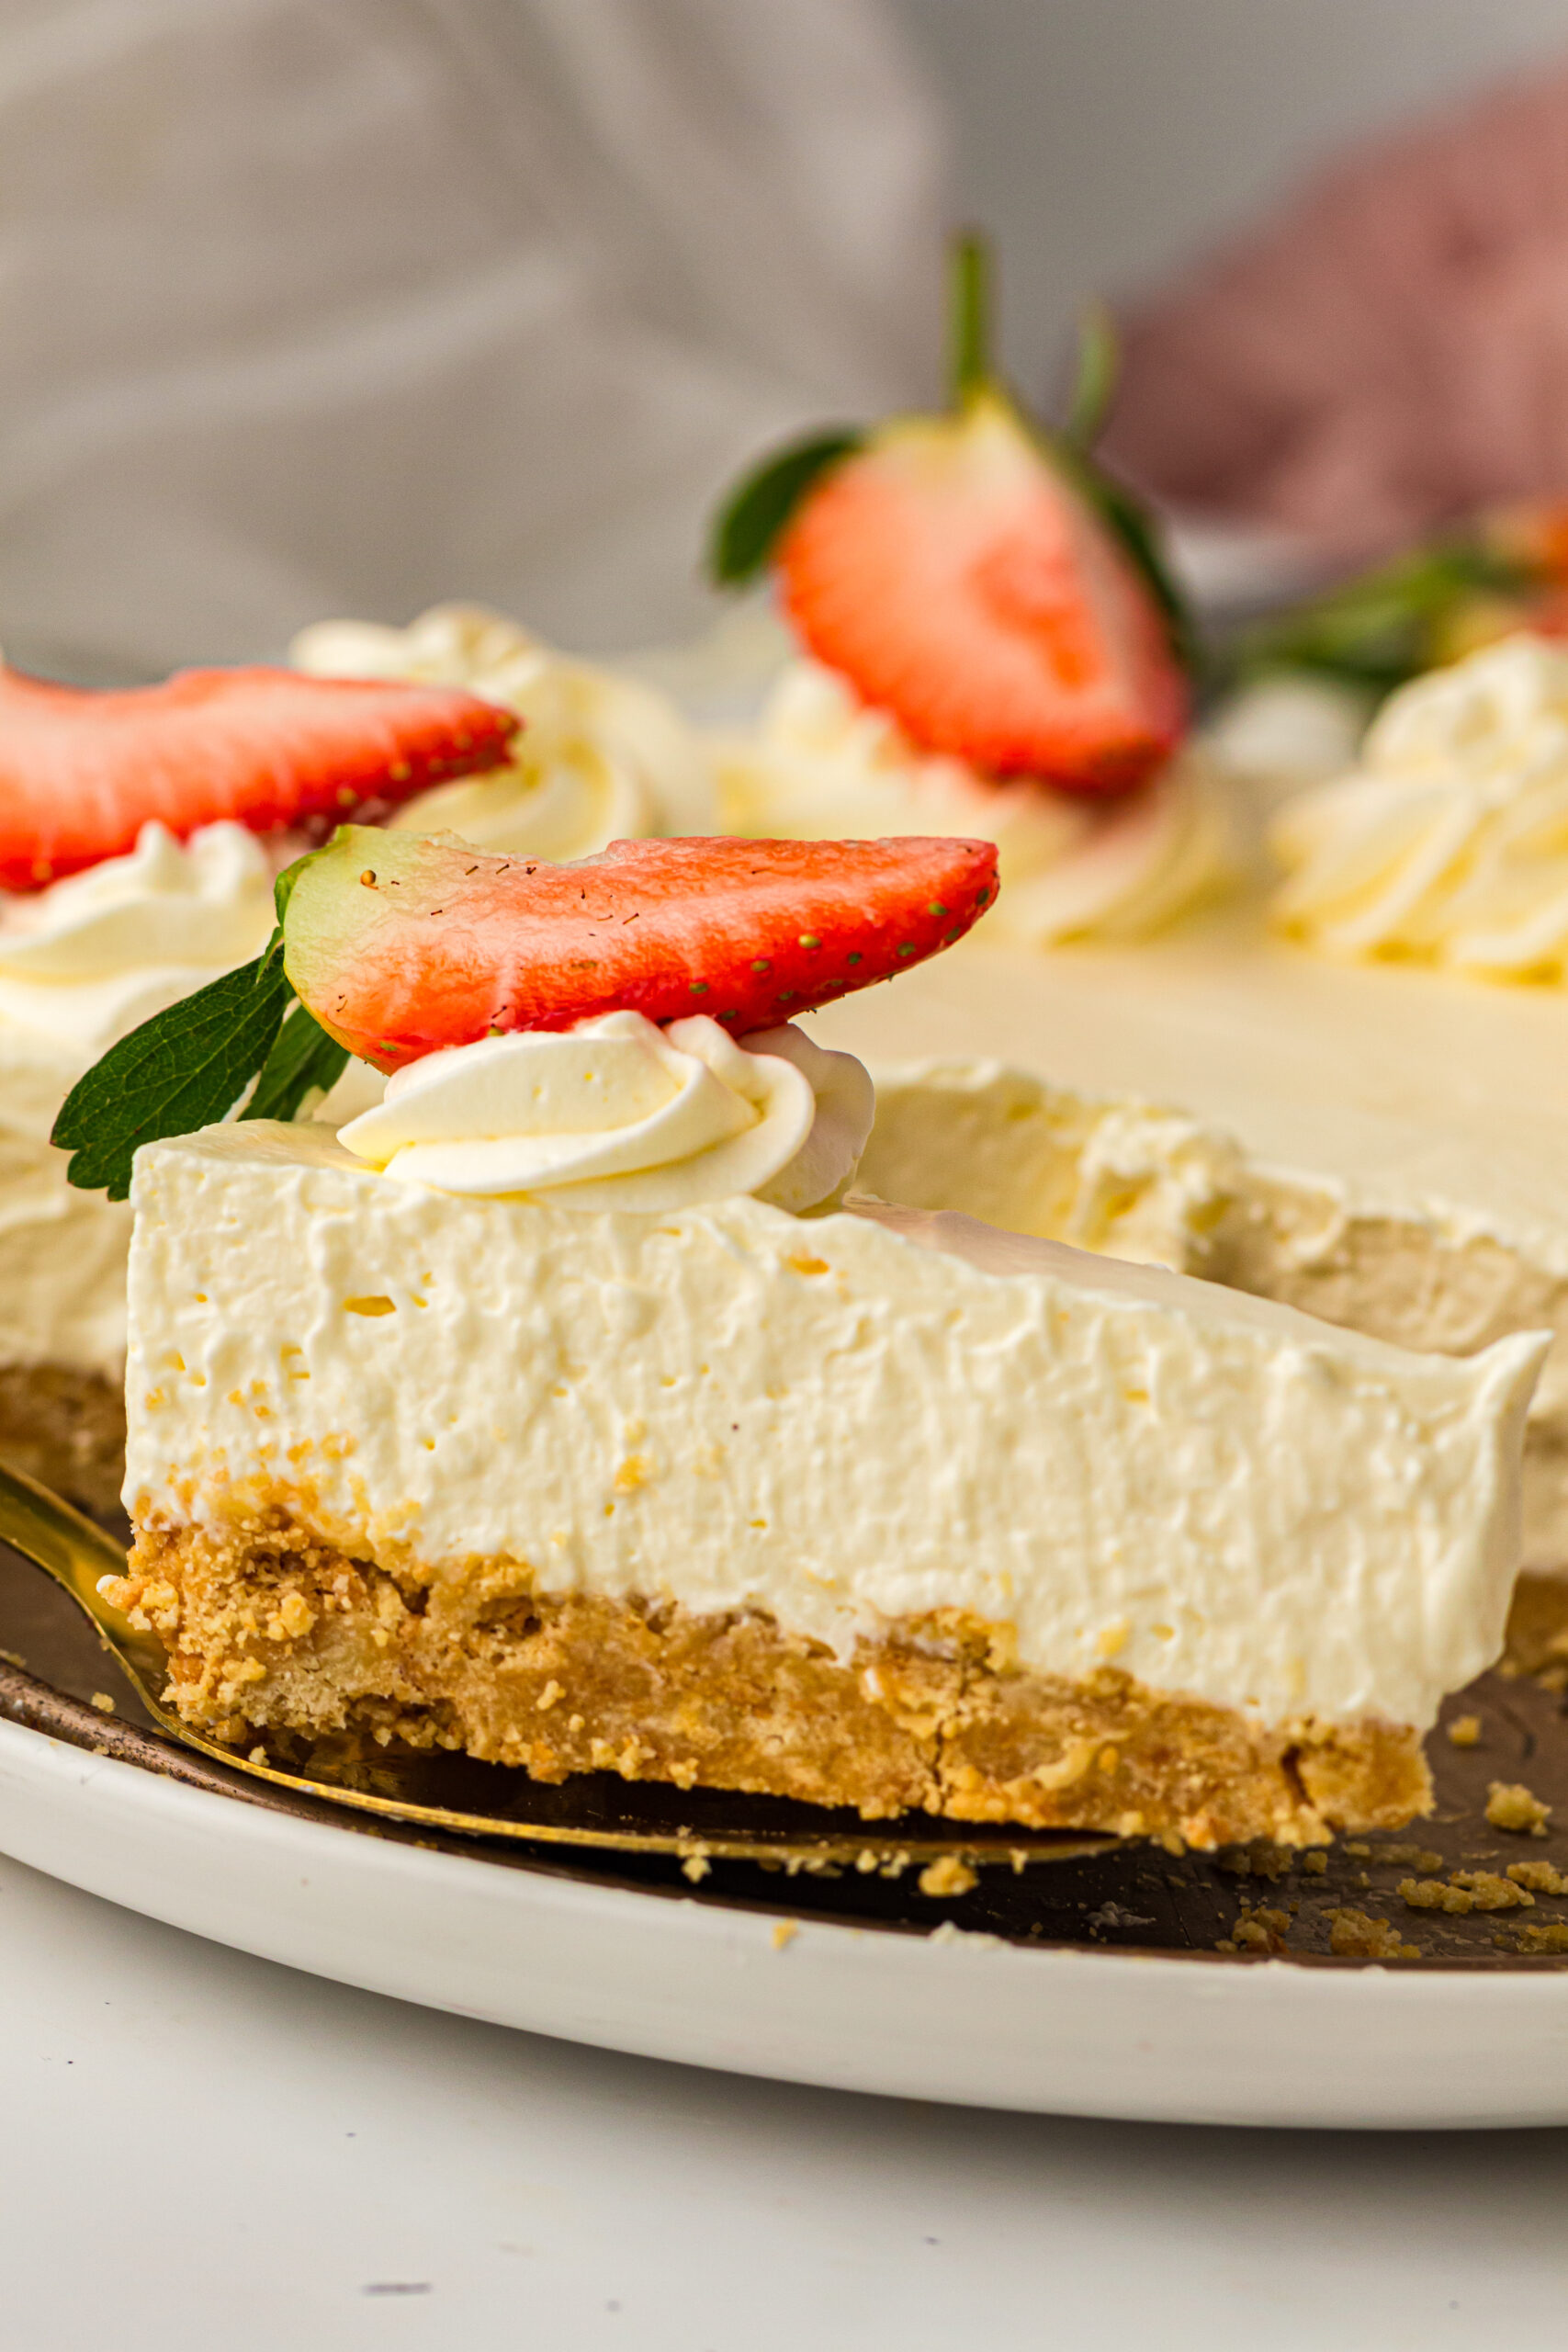
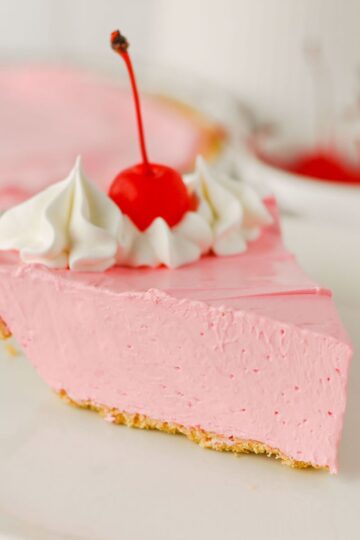
There was always a popular dessert to have on hand for unexpected guests, and this no bake cheesecake with graham cracker crust was one of her favorites. It looked impressive enough for company but was surprisingly simple to make.
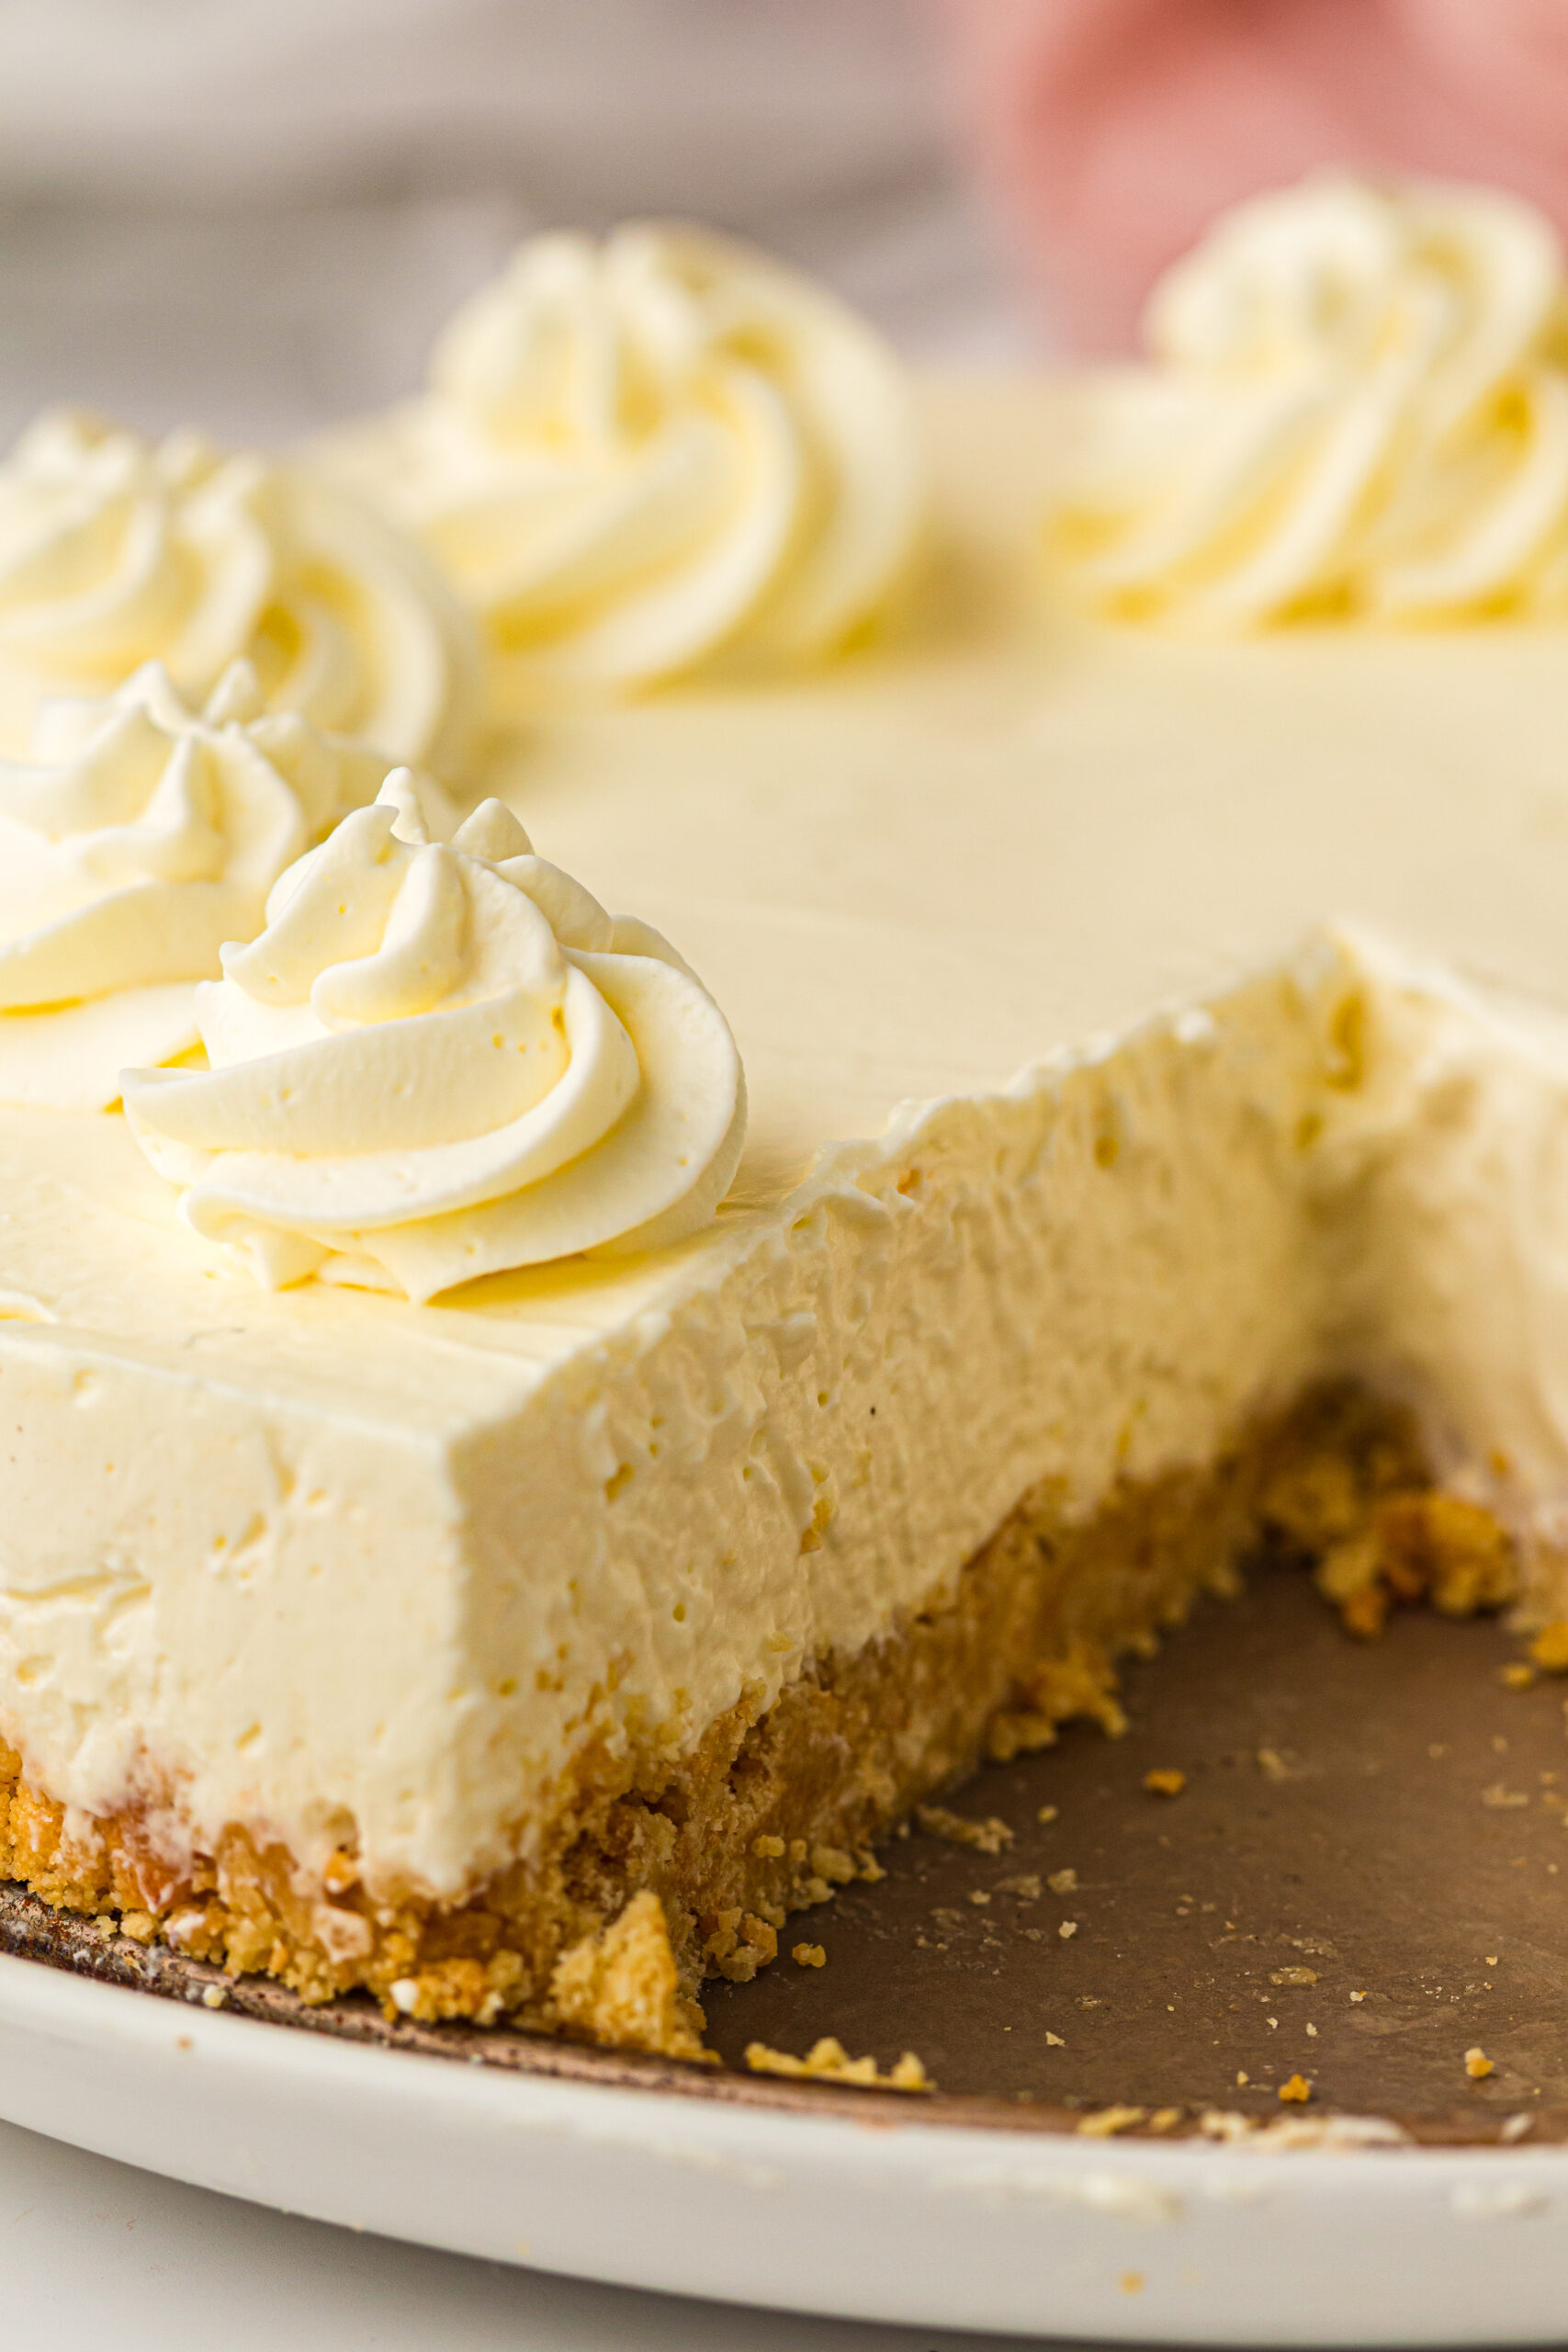
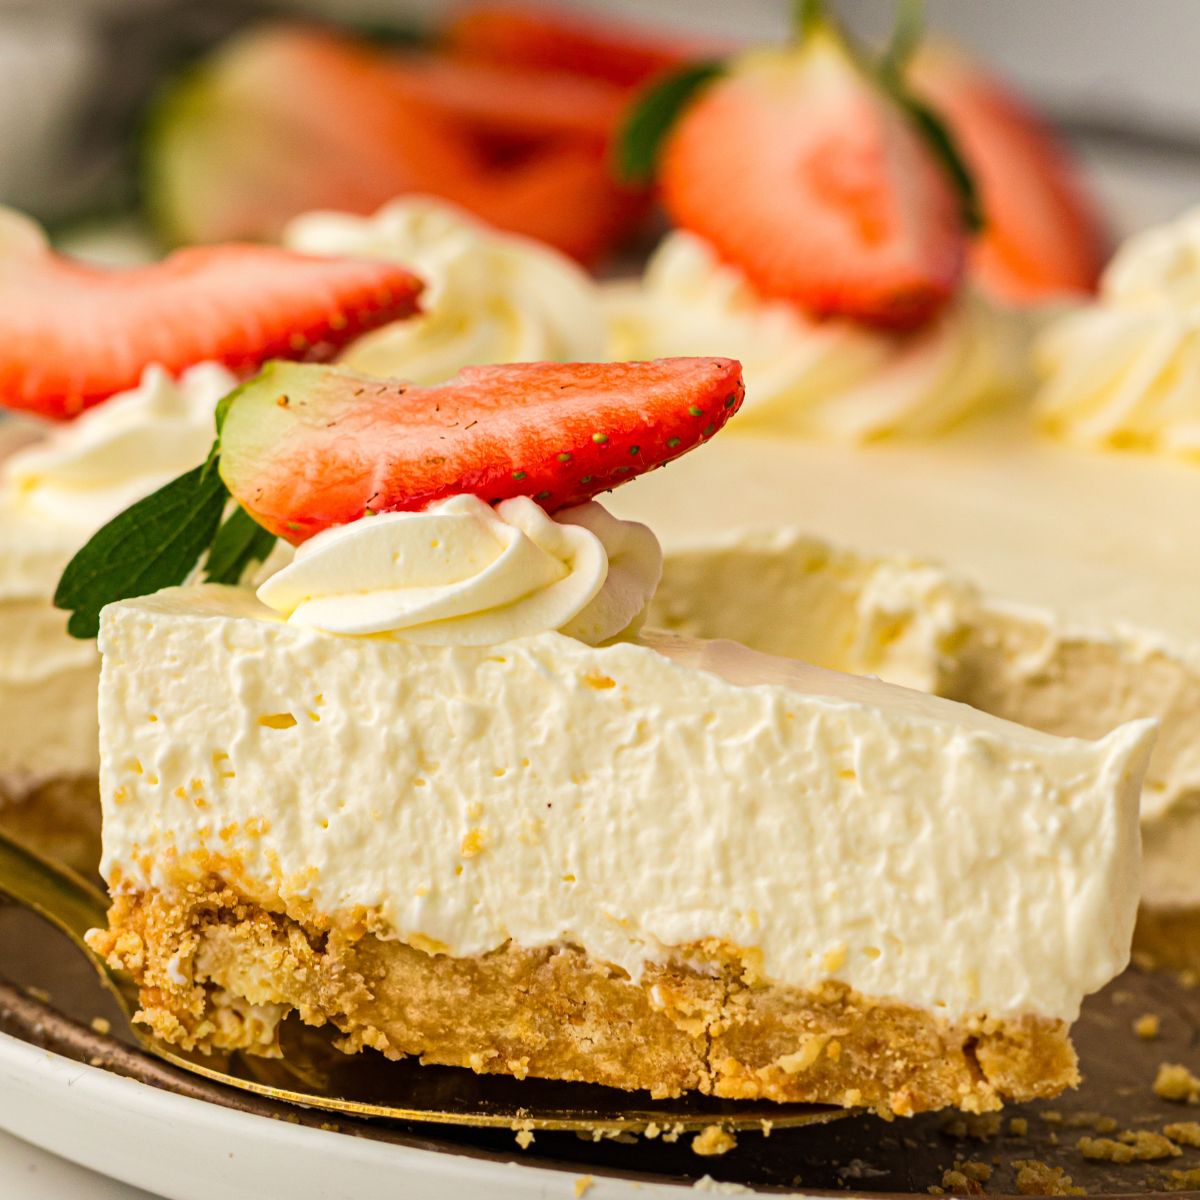
The filling is rich, creamy, and lightly sweet with a buttery graham cracker crust underneath. Since there's no baking involved, it's the perfect dessert for warm weather, holidays, or anytime you want something easy and comforting.
What You Need to Know
- This cheesecake has a light, creamy texture rather than the dense texture of baked cheesecake
- Chill for at least 4 hours to ensure the filling sets properly
- This dessert can be made a day ahead, making it great for entertaining
- Add fruit, chocolate, or pie filling on top to easily customize it
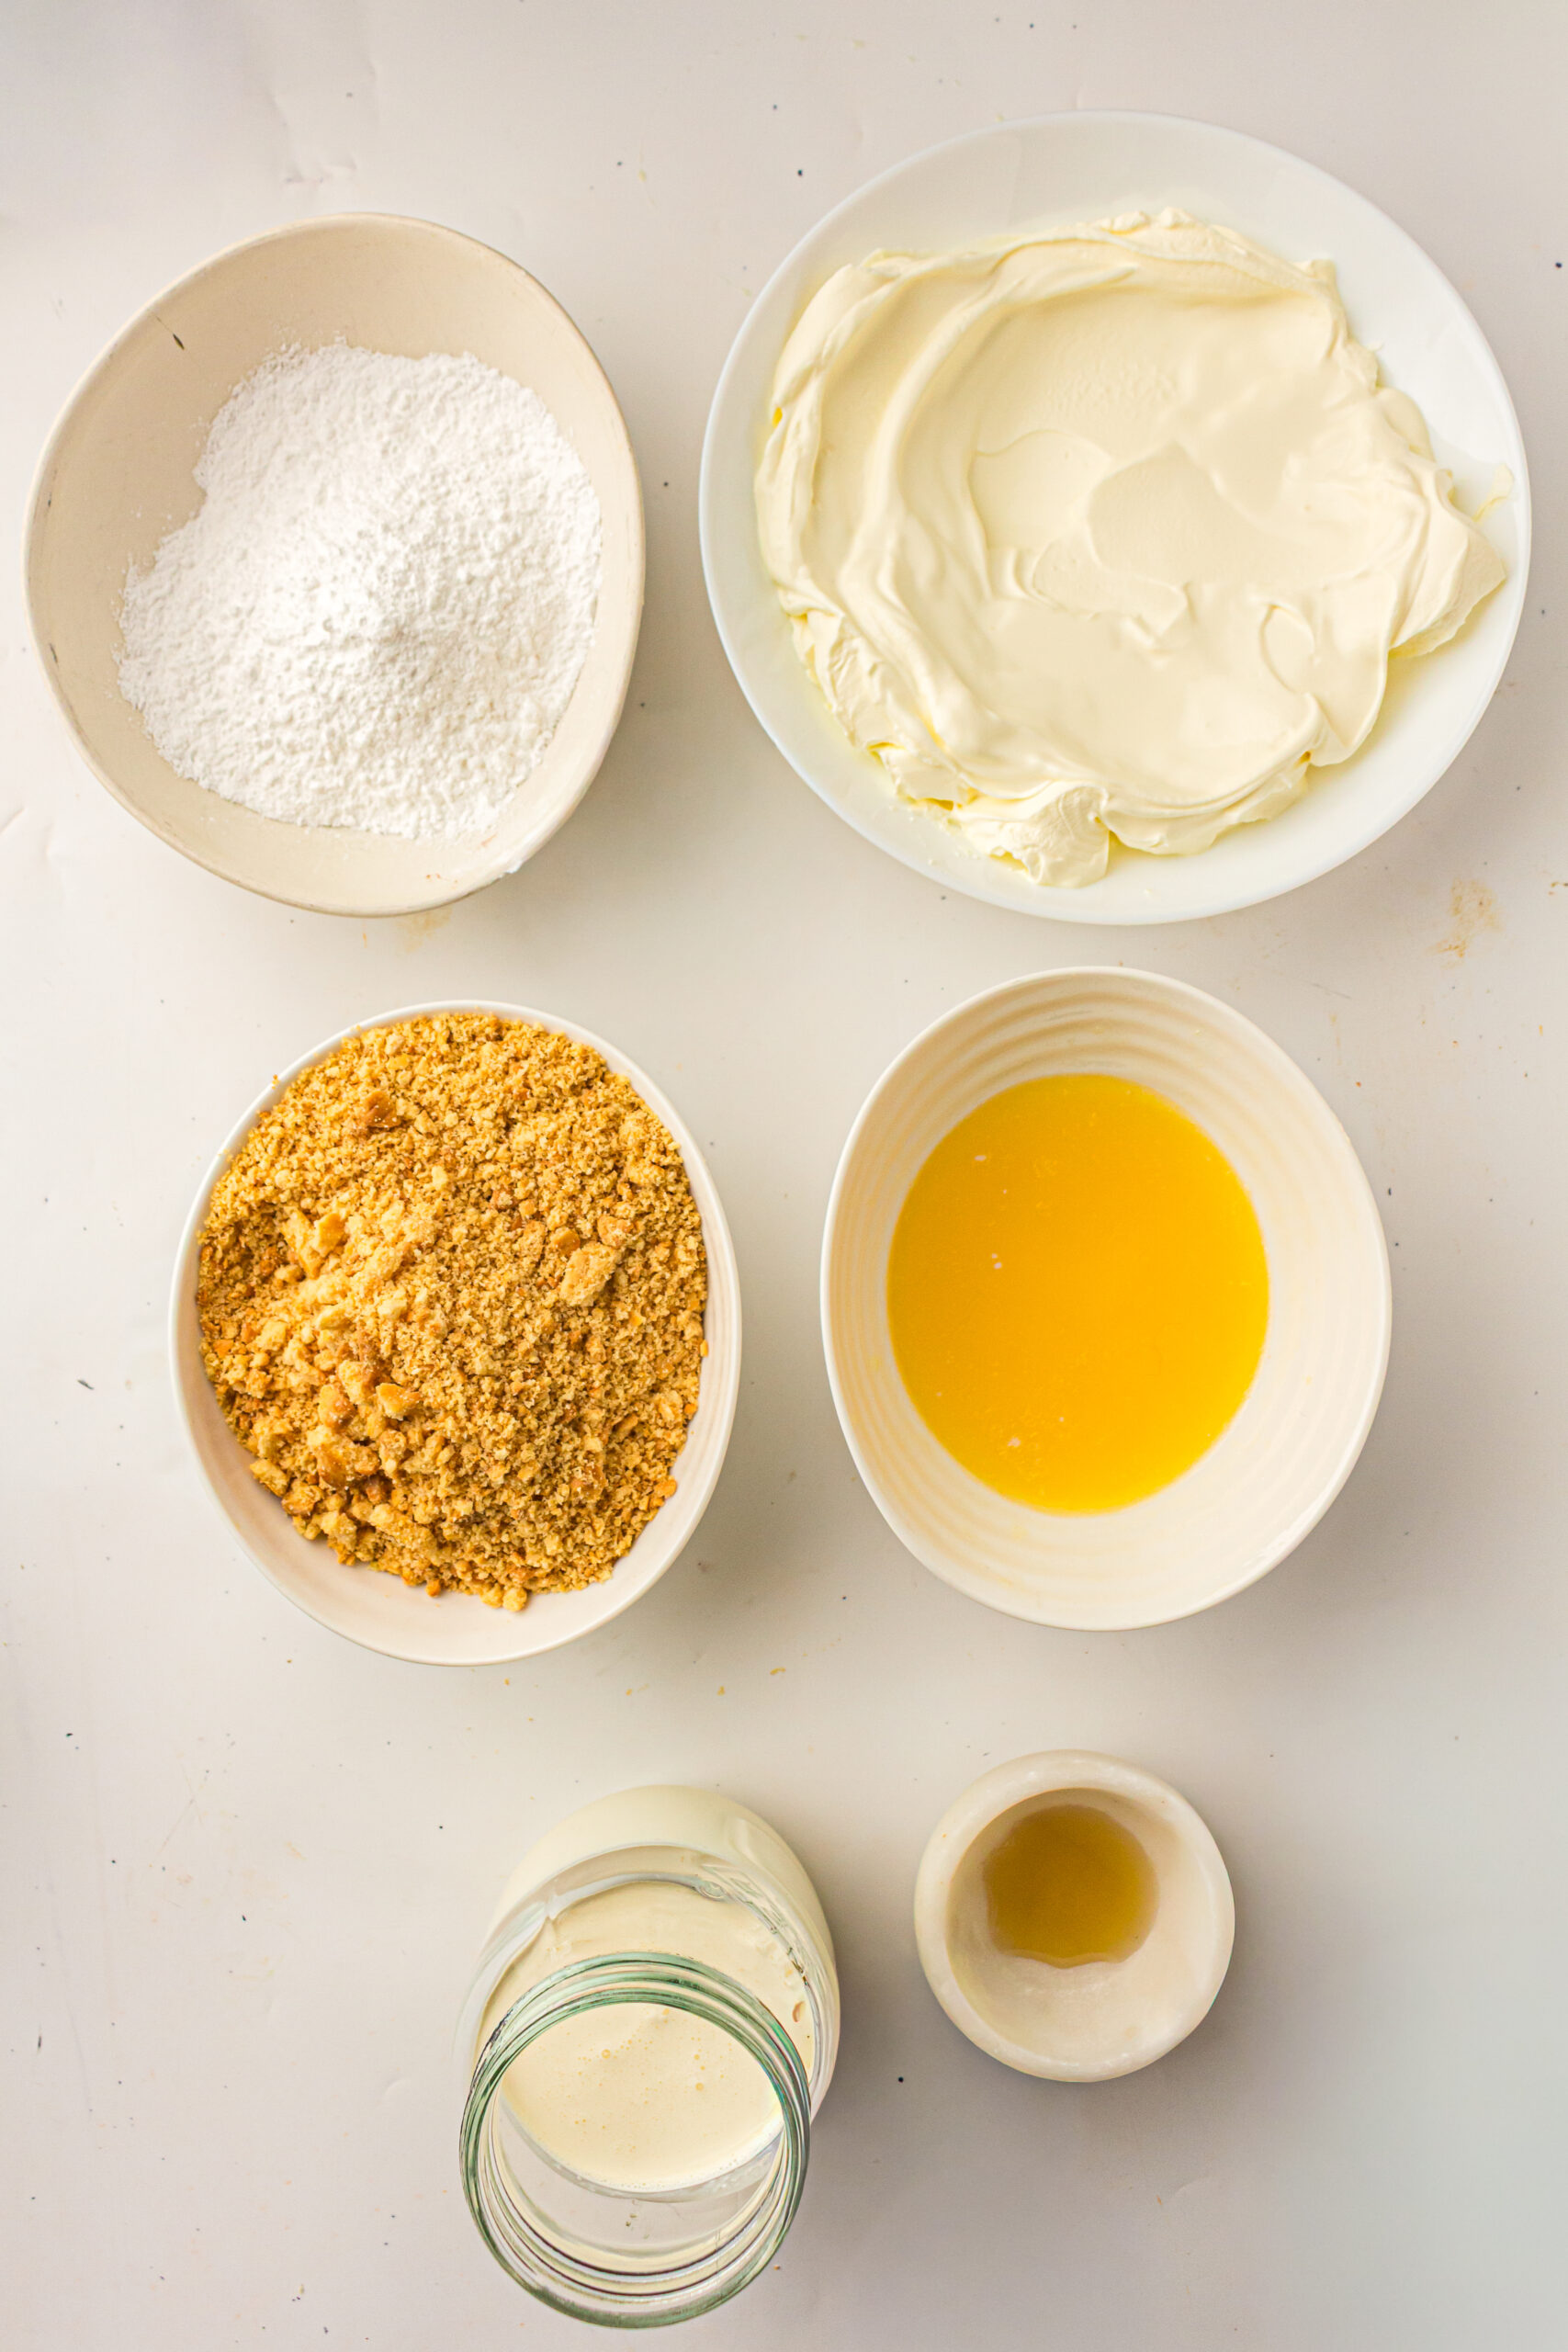
Ingredients Overview
- Graham cracker crumbs: Honey graham crackers are traditional, but cinnamon graham crackers also work well
- Butter: Salted or unsalted butter can be used for the crust
- Cream cheese: Full-fat cream cheese provides the richest texture and flavor
- Powdered sugar: Dissolves easily into the filling and creates a smooth consistency
- Vanilla extract: Pure vanilla offers the best flavor, though imitation vanilla can be used
- Heavy cream: Must be cold to whip properly and help the cheesecake set
- Fresh strawberries: Optional, but they add beautiful color and fresh flavor
How to Make No Bake Cheesecake
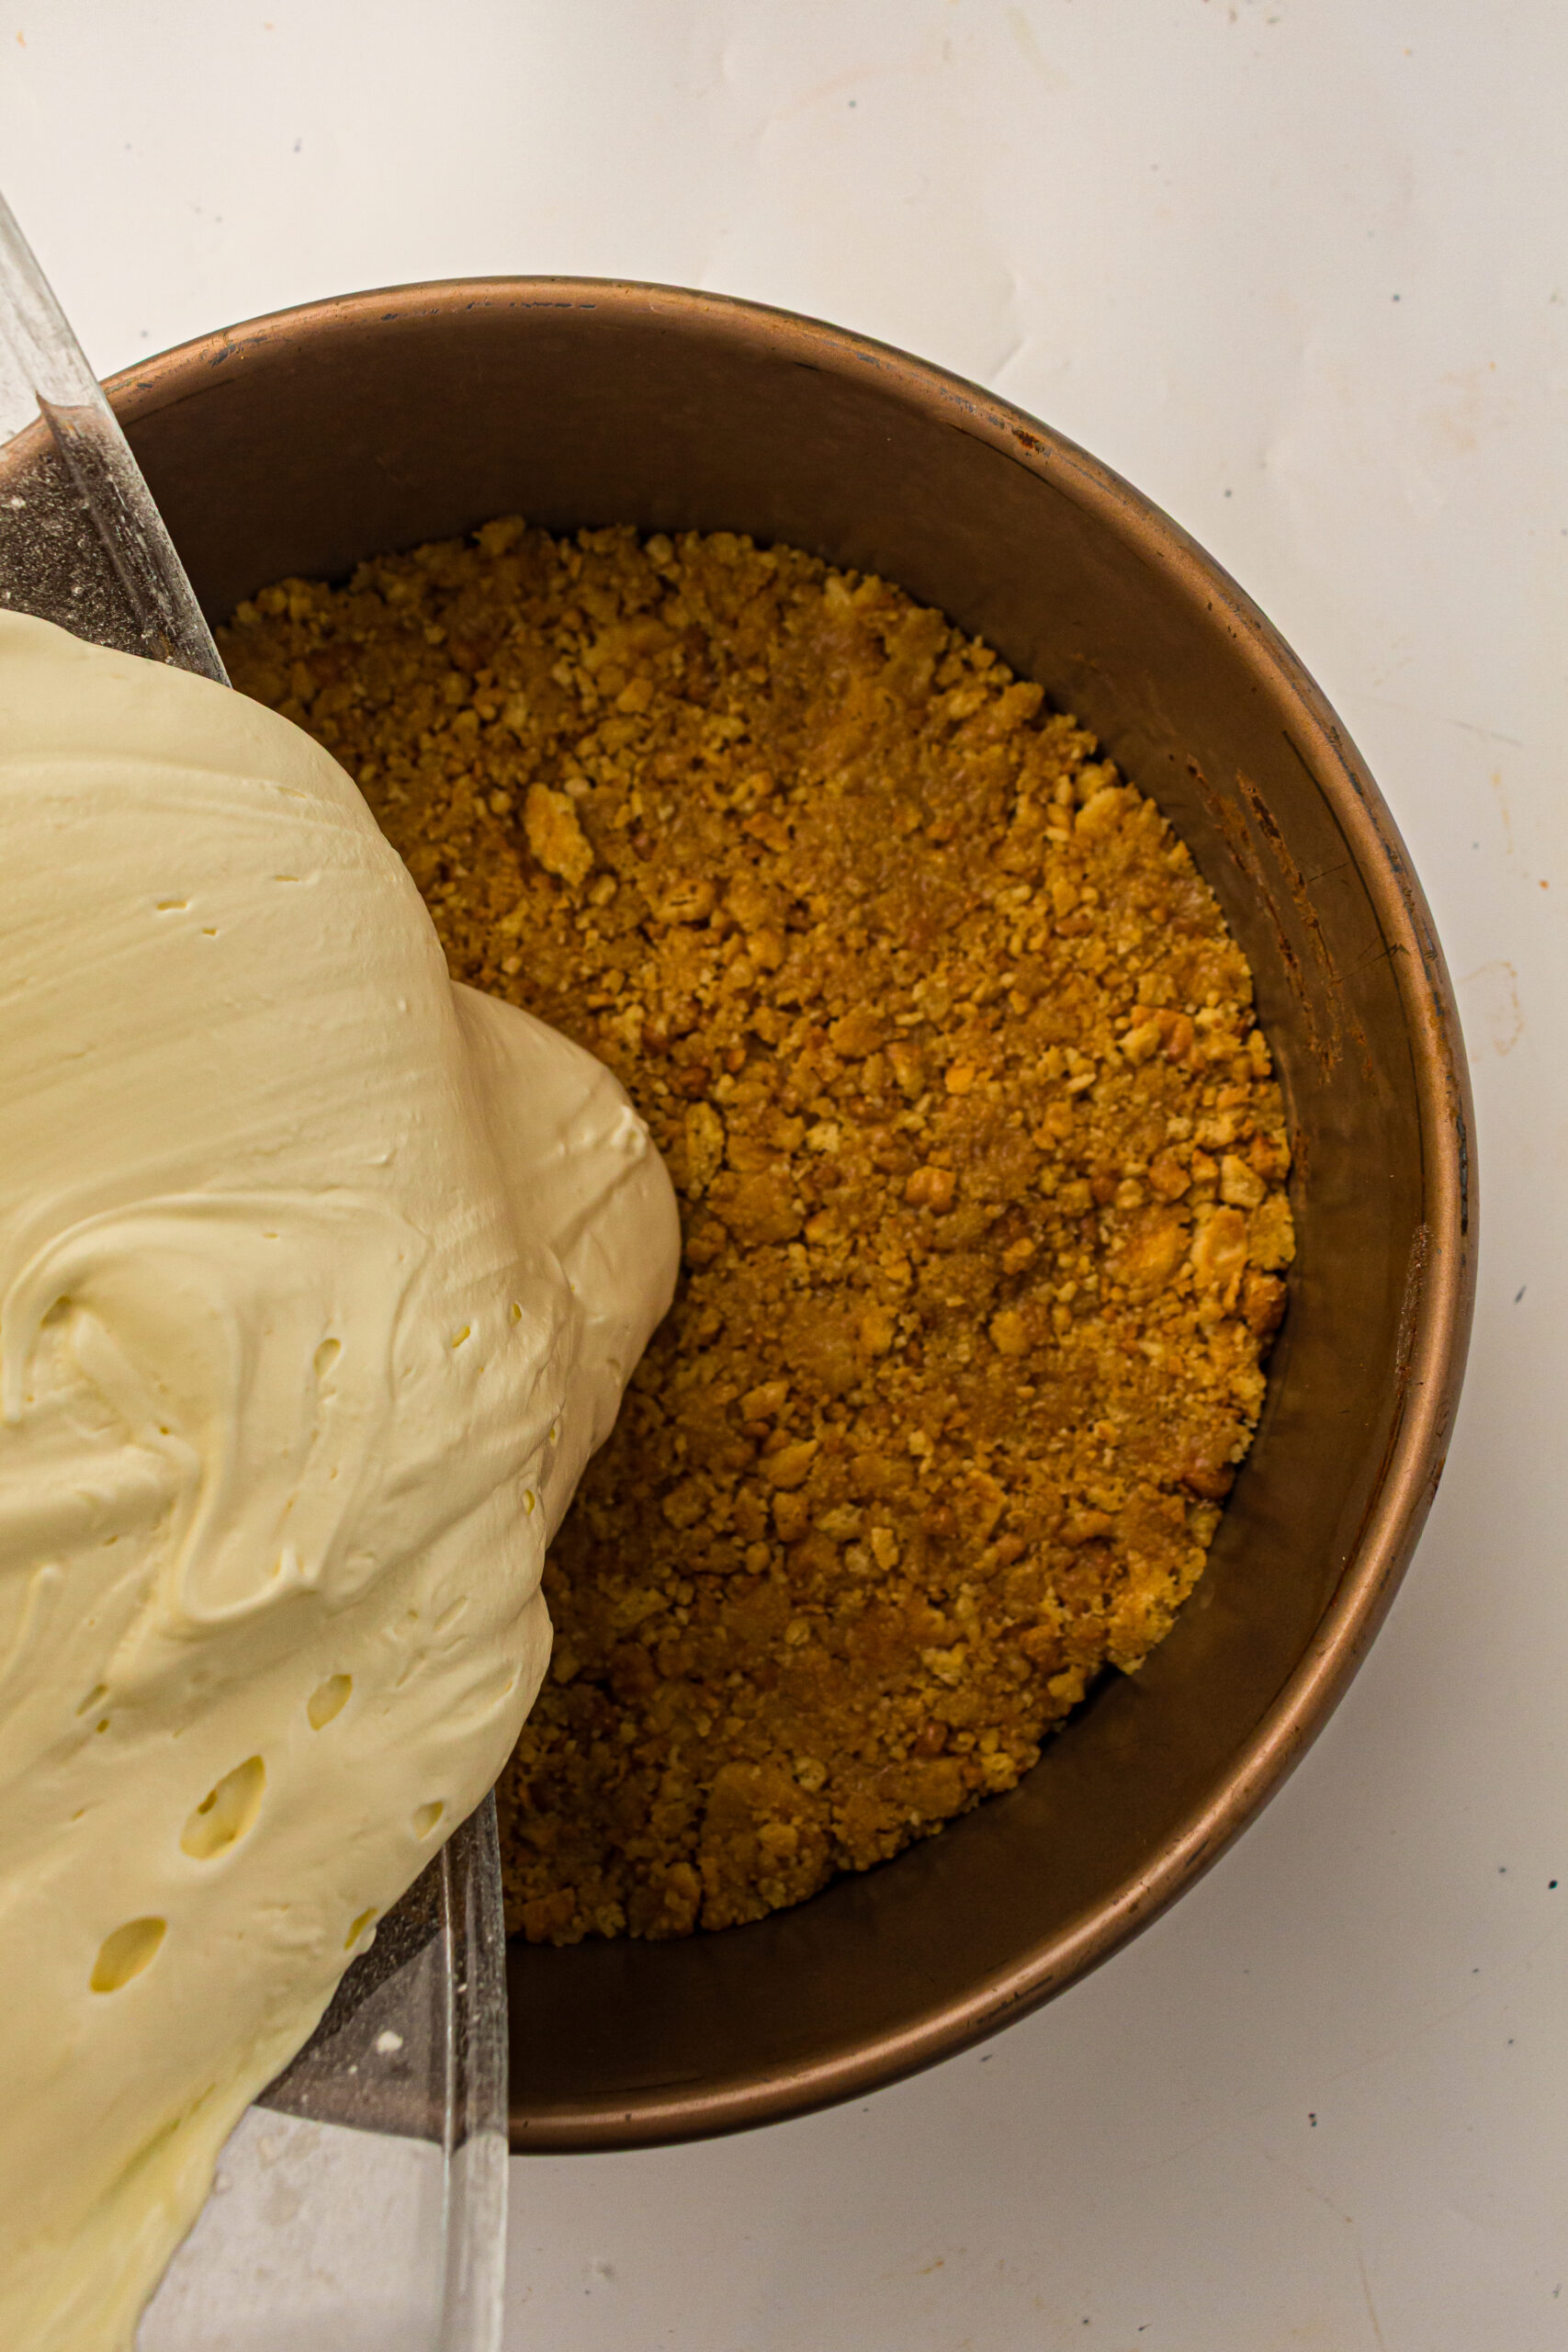
Step 1: Combine the graham cracker crumbs and melted butter in a mixing bowl until evenly moistened. Press the mixture firmly into the bottom of a 9-inch springform pan and refrigerate while preparing the filling.
Step 2: Add the cream cheese, powdered sugar, vanilla extract, and cold heavy cream to a large mixing bowl.
Step 3: Beat the mixture until smooth, thick, and fluffy. Continue mixing until the filling holds its shape and no lumps remain.
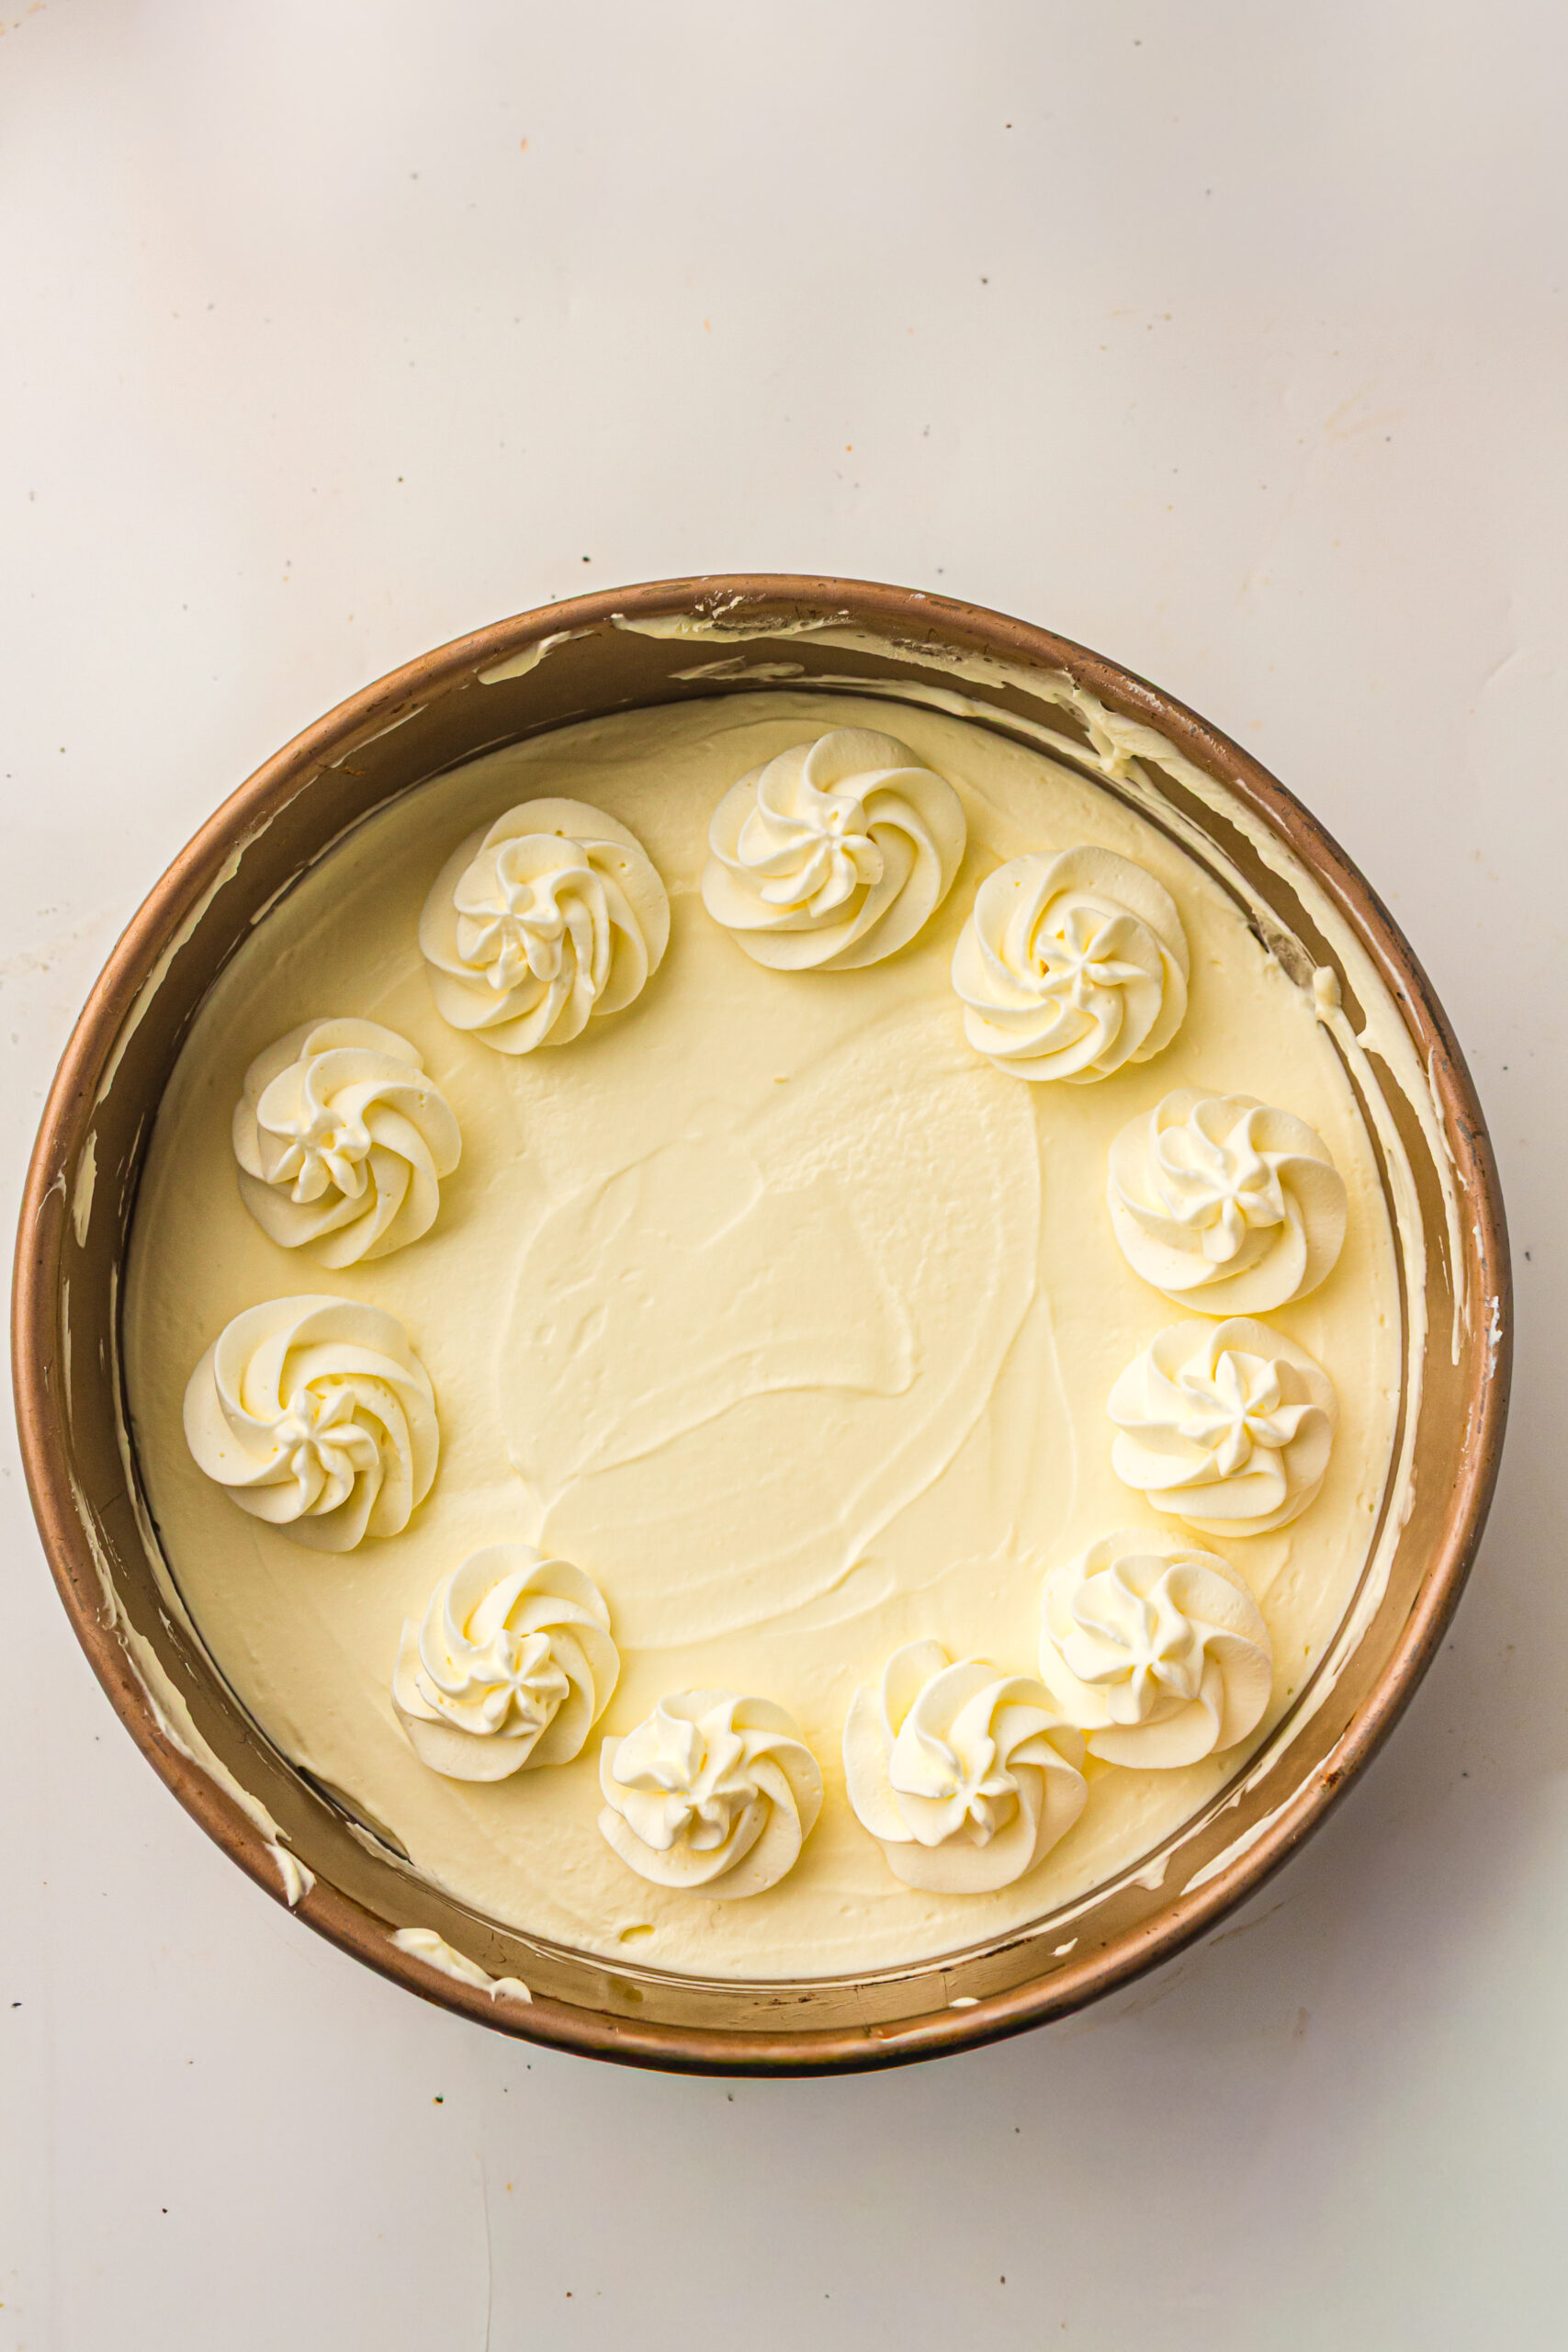
Step 4: Spread the cheesecake filling evenly over the chilled crust. Cover and refrigerate for at least 4 hours or until fully set. Garnish with whipped cream and strawberries before serving if desired.
Serving Suggestions
Serve topped with fresh strawberries, blueberries, raspberries, chocolate sauce, caramel sauce, or lemon curd. It also pairs wonderfully with coffee, tea, or after a holiday meal.
Grandma's Tips
- Soften the cream cheese completely before mixing to prevent lumps
- Chill overnight for the cleanest slices and best texture
Modern Updates
- Use chocolate graham crackers for a chocolate cheesecake crust
- Add Greek yogurt in place of a portion of the cream cheese for a slightly lighter filling
More Classic No Bake Desserts
- Old Fashioned Kool Aid Pie
- Easy Coconut Cream Pie (No Bake)
- No Bake Peanut Butter Pie
- No Bake Mint Pie
- Old Fashioned Strawberry Jello Pretzel Salad
- No Bake Oreo Cheesecake
- Easy No Bake Strawberry Cheesecake
FAQs
What is the difference between baked and no bake cheesecake?
No bake cheesecake sets in the refrigerator and has a lighter, mousse-like texture, while baked cheesecake is denser and firmer.
Can you make no bake cheesecake the night before?
Yes. In fact, making it the night before gives it plenty of time to chill and develop the best texture.
Why is my no bake cheesecake not setting?
The most common reason is not chilling it long enough. Allow at least 4 hours, though overnight chilling works best.
Can I use a store-bought graham cracker crust?
Yes. A ready-made graham cracker crust can be substituted if you'd like to save time.
Easy No Bake Cheesecake Recipe
Ingredients
Method
- Mix the graham cracker crumbs and melted butter together until combined. Press firmly into a springform pan and refrigerate.
- Add cream cheese, powdered sugar, vanilla extract, and heavy cream to a large bowl.
- Beat until the filling is thick, smooth, and fluffy.
- Spread the filling over the crust and refrigerate until fully set. Add toppings before serving if desired.
Notes
- Room temperature cream cheese mixes more smoothly
- Chill at least 4 hours before slicing
- Fresh berries make an easy topping
- Store covered in the refrigerator up to 4 days
Tried this recipe?
Let us know how it was!
Leave a Reply